


Contents
- Get to know WaveTracer
- Setting up the tripod and attachments
- Turn WaveTracer on and off
- Restart with the RST button
- Charge the battery
- Use the main menu
- Start using the radar
- Adjust sound and Motion Filter
- Set the date and time
- Connect to Wi-Fi
- Connect to ParaLink-Mesh
- Files and About
- Update firmware
- Troubleshooting
WaveTracer instructions — firmware v1.1.
Get to know WaveTracer
WaveTracer is operated through its touchscreen. Tap the displayed icons, switches and buttons with a finger. The physical power button and RST button control the device itself; they are separate from the on-screen radar controls.
| Control | What it does |
|---|---|
| Left-side power button: one press | Turns WaveTracer on. |
| Left-side power button: hold for 6 seconds | Turns WaveTracer off. |
| Bottom RST button: brief single press | Restarts WaveTracer. |
| On-screen BACK at bottom left | Returns to the main menu and stops radar audio. |
| On-screen R on radar | Sets the displayed heading offset to zero; it does not reboot the device. |
| On-screen M / S on radar | Changes between multi-target and single-target tracking. |
| SAVE / BACK | SAVE writes the edited setting; BACK returns. On the Settings screen, switches change the live values but SAVE is needed to retain them after restart. |
Setting up the tripod and attachments
Watch the video below for a demonstration of setting up the tripod and attachments.
Turn WaveTracer on and off
- With the device off, make sure the supplied microSD card is inserted. Keep the supplied licence and configuration files on the card.
- Press the power button on the left side once. Wait for the startup checks. WaveTracer opens on its icon menu.
- To finish, save any changes and leave the radar using its on-screen BACK button.
- Press and hold the left-side power button for about six seconds to turn off.
Use the six-second hold for shutdown; the on-screen BACK button only returns to the menu.
Restart with the RST button
If WaveTracer stops responding, briefly press the RST button on the bottom once. This restarts the app; it is not a factory-reset command. Unsaved changes can be lost.
Use a short press. Holding RST for about three seconds enters the hardware download mode instead. If you accidentally enter that mode, release the button and briefly press RST again to restart normally. Do not reset or remove power during a firmware installation.
Power and RST button actions are checked against Hardware power reference.
Charge the battery
- Connect WaveTracer’s USB-C port to a suitable 5 V USB power source.
- Connecting USB may switch WaveTracer on automatically. You can use it while charging or switch it off and continue charging.
- While powered on, check the battery percentage at the upper left of the radar screen. A blue battery outline and percentage indicate charging.
- To charge with WaveTracer switched off, leave USB connected and hold the left-side power button for about six seconds. The device switches off while the battery continues charging.
- Disconnect USB when you have finished charging.
A dark screen after switching off does not mean charging has stopped. While powered on, WaveTracer uses its normal touchscreen interface rather than a separate charging screen.
This version keeps its normal touchscreen interface while charging; it has no separate charging screen. The battery percentage is an estimate. Power off before removing the microSD card.
Use the main menu
The menu has two rows of icons. Tap the icon for the screen you want.
| Row | Left to right |
|---|---|
| Top row | Radar, Settings, Date, Time |
| Bottom row | Wi-Fi, Files, Update, About |
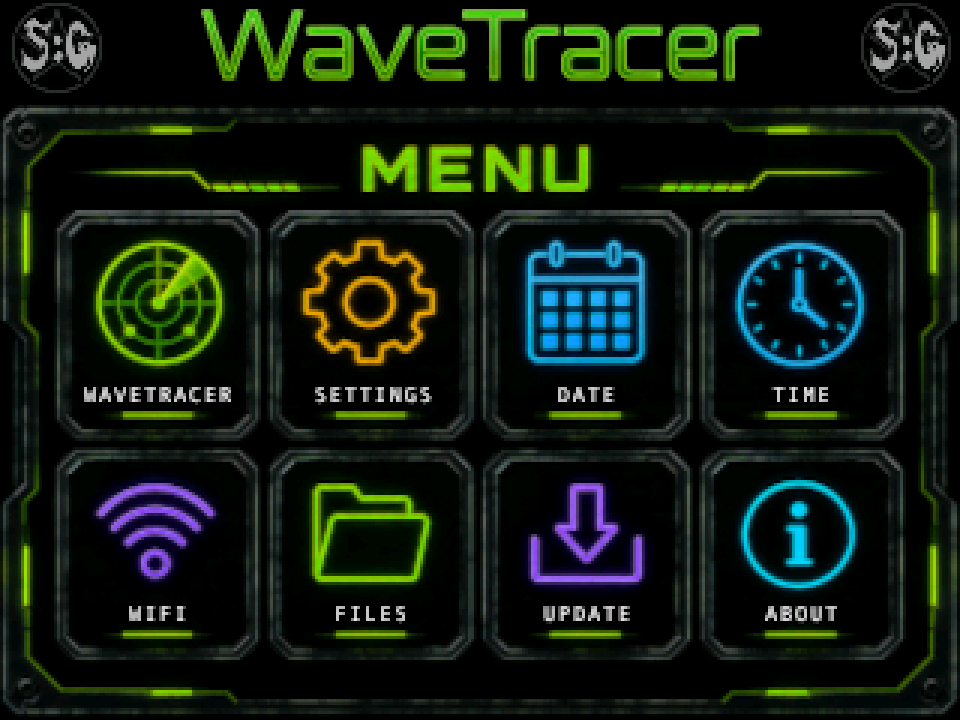
Start using the radar
- Place or hold WaveTracer steadily in the direction you want to observe.
- Tap the Radar icon at the top left of the main menu. Tracking and the expanding pulse start when the radar screen opens. There is no separate Start button.
- Read the green target blips against the distance rings. The rings represent 2 m, 4 m and 6 m.
- If you change the direction you are facing, use the displayed heading information as a relative reference. Tap R when you want the current heading to become zero again.
- Tap BACK at the bottom left to return to the menu. Radar audio stops when you leave.
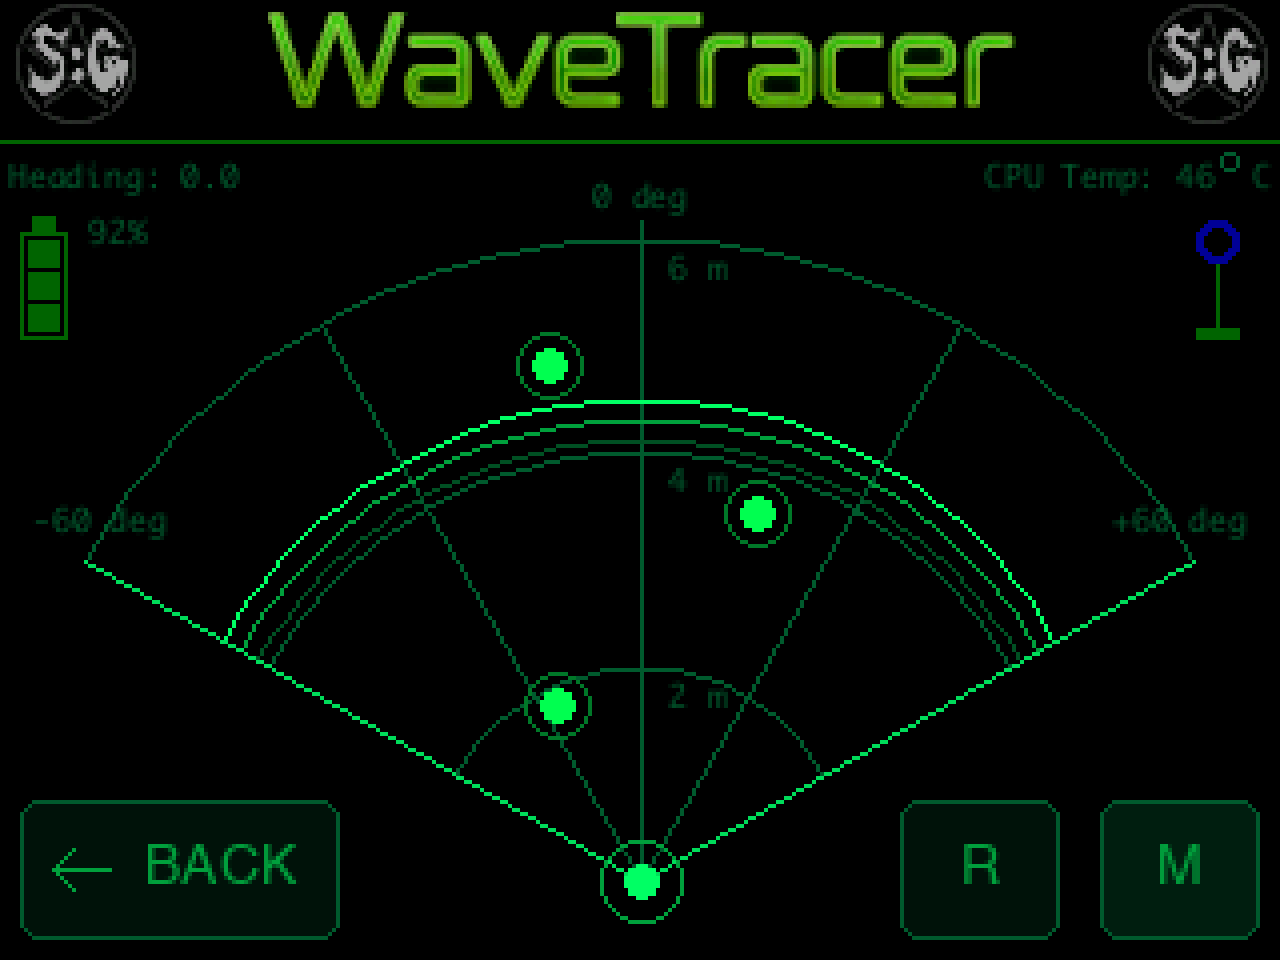
The expanding arc is a repeating display pulse. Blips show reported radar returns; the screen does not identify their cause. The sector covers 120 degrees, from -60° to +60° around straight ahead, with rings at 2 m, 4 m and 6 m. Targets beyond 6 m or outside this sector are not displayed. This scale does not guarantee detection of every object at that distance. Targets stay positioned relative to the sensor as you turn the device; the heading grid provides a relative rotation reference.
If Hold still to calibrate heading appears, keep WaveTracer still until it clears. Waiting for sensor can appear briefly when radar opens. Sensor disconnected means recent radar data is unavailable; the animated pulse alone does not confirm a working sensor.
Reset the heading
Tap the on-screen R at the bottom right, immediately to the left of M/S. A Heading reset message appears and Heading at the top left returns to zero. This is a relative heading adjustment, not a compass-north calibration or a hardware reset.
Choose single or multiple targets
The button at the far bottom right, beside R, shows the current mode: M for multi-target or S for single-target. Tap it to switch. The screen briefly shows Multi-target mode or Single-target mode. If a change fails, WaveTracer tries to restore the previous mode.
Read the radar indicators
Heading at the top left is the relative heading offset. CPU Temp at the top right is the processor temperature, not room temperature. Its colour changes to amber from 70 °C and red from 80 °C as software advisories. When Motion Filter is on and the device detects its own movement, the centre marker turns orange.
Adjust sound and Motion Filter
- Tap BACK on radar, then open Settings from the menu.
- Tap the Play Audio switch to enable or mute radar sound cues. Green with the white knob on the right means on; red with the knob on the left means off.
- Tap Motion Filter to turn it on or off. When enabled, it suppresses reported targets closer than about 70 cm while WaveTracer detects its own movement.
- Tap SAVE at the lower right to store your choices and return to the menu.
- Tap BACK to return without writing settings to the card. The switched values can still apply for the current run, so use SAVE if you want them kept after restart.
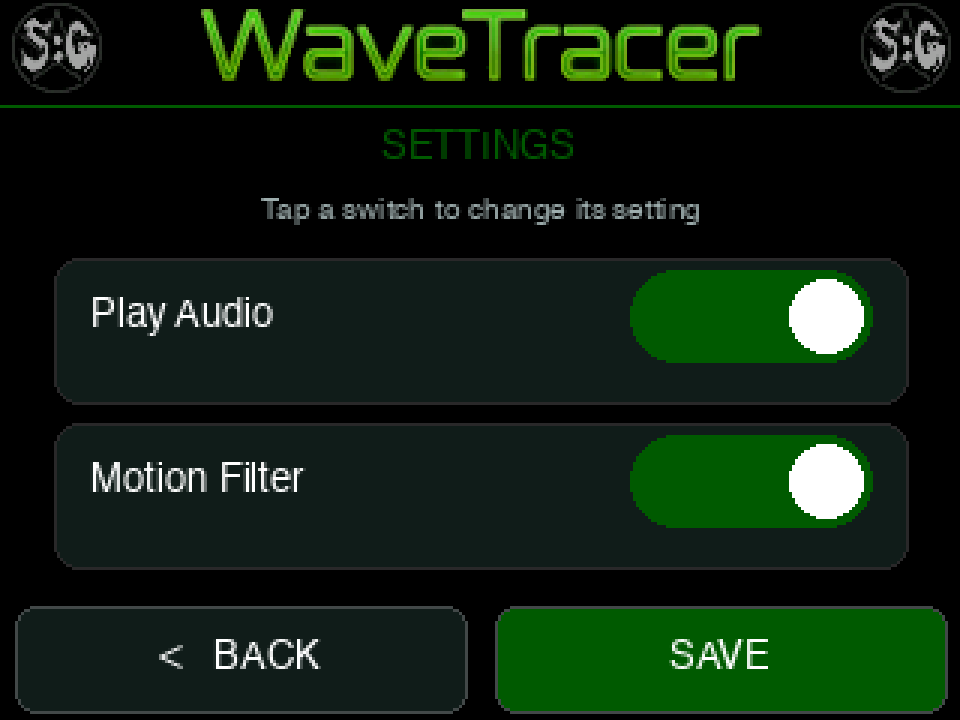
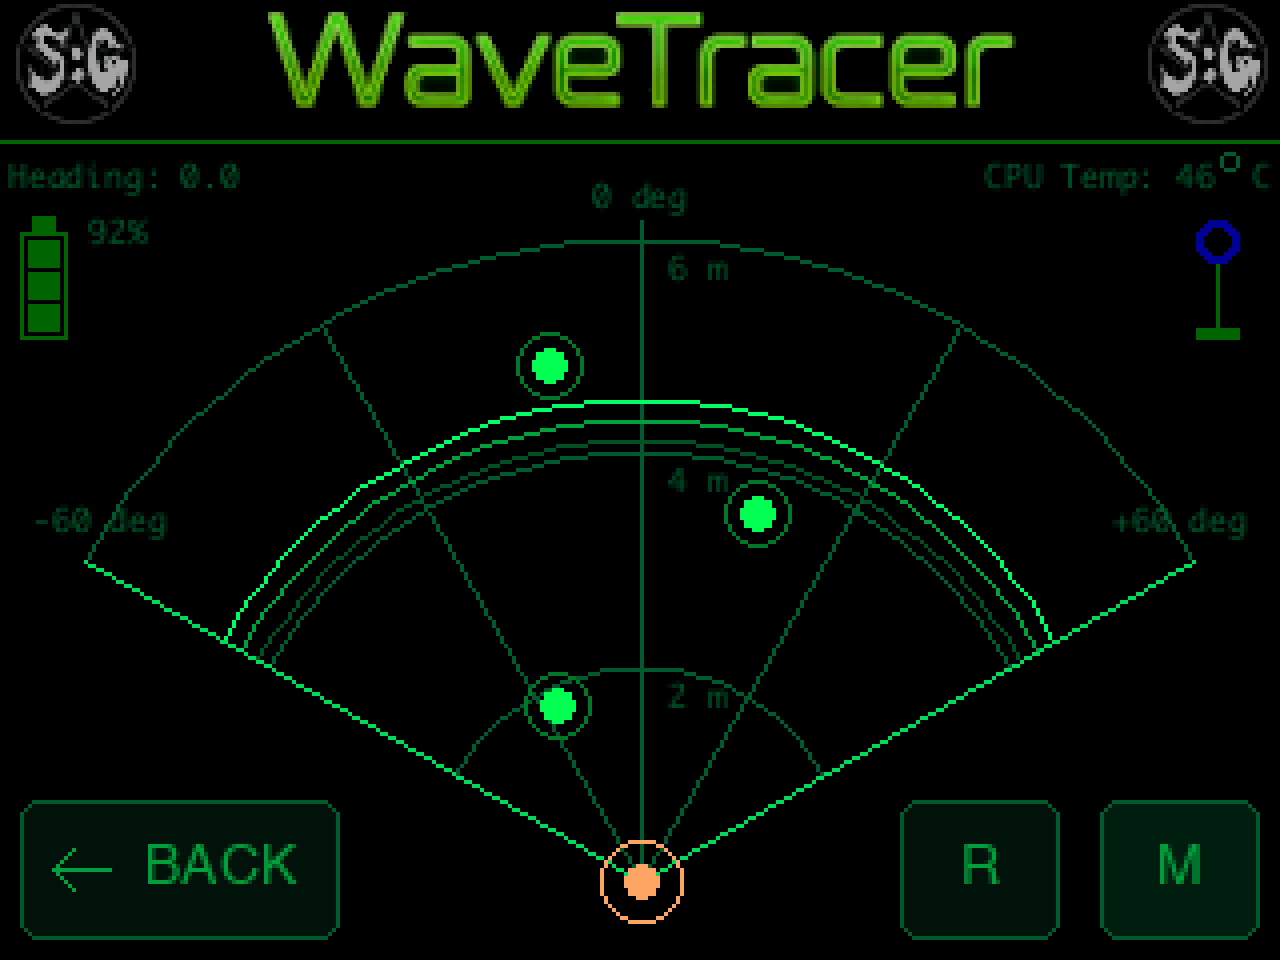
Motion Filter is intended to reduce close-range returns associated with moving the device. It does not suppress every return or remove the need to hold WaveTracer steadily. There is no centimetre-tolerance control or image-save switch on this Settings screen.
Set the date and time
WaveTracer has separate Date and Time screens that edit its clock directly. There are no Timezone or BST menu items in this version. Internet time synchronisation during startup can replace a manually set date and time, so check the clock after connecting to a network.
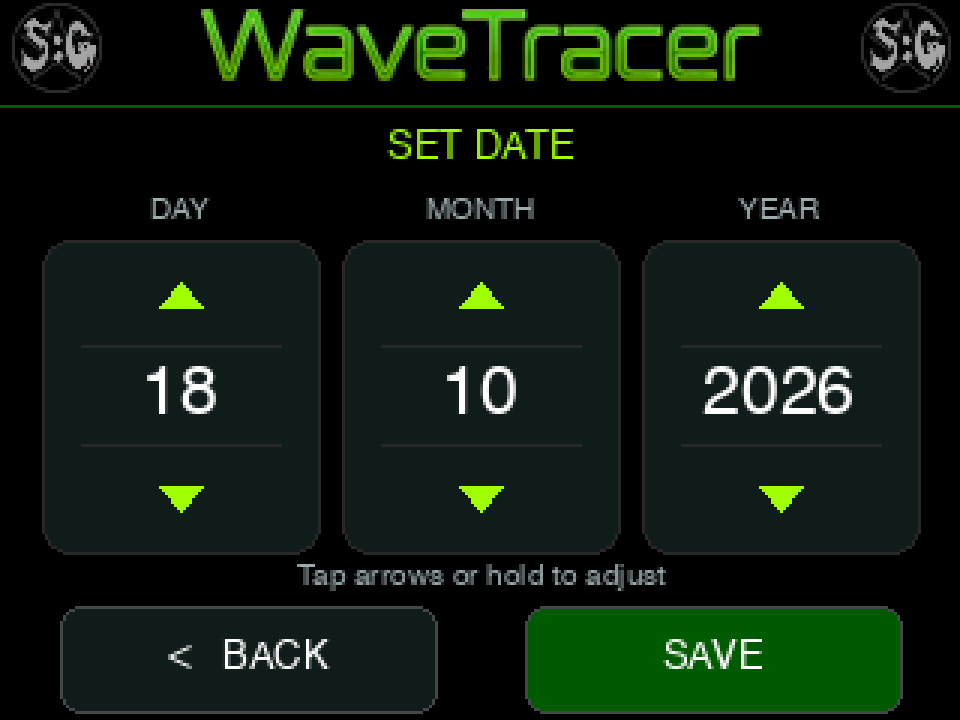
Set the date
- Tap Date in the menu’s top row.
- Tap the arrows above or below DAY, MONTH and YEAR to change the values. Hold an arrow to repeat the adjustment.
- The day is limited to valid dates for the selected month and year.
- Tap SAVE to set the clock’s date and return, or BACK to discard the edits.
Set the time
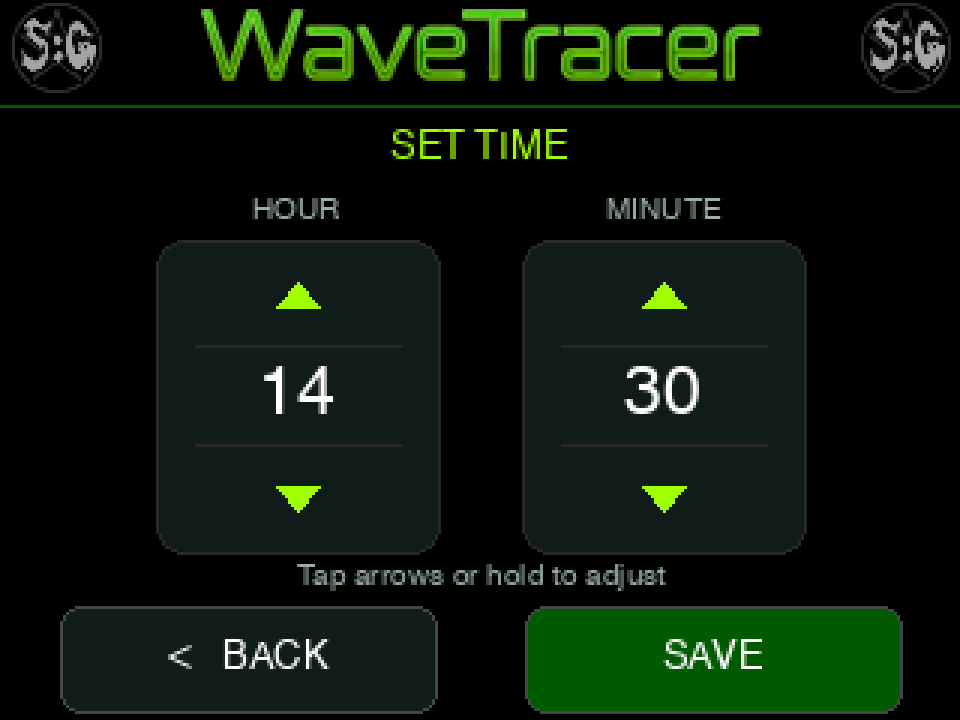
- Tap Time in the menu’s top row.
- Use the upper and lower arrows for HOUR and MINUTE. Hold an arrow to adjust repeatedly. The hour uses the 24-hour format.
- Tap SAVE to set the time and return. Seconds are set to zero when saved. Tap BACK to leave without applying the edits.
Connect to Wi-Fi
Radar use does not require internet access. Wi-Fi is used for firmware updates, startup clock synchronisation and ParaLink-Mesh. The Wi-Fi screen displays connection information; network details are entered on the microSD card.
- Switch WaveTracer off before removing the card.
- Open
wifisettings.txtin the card’s root folder using a plain-text editor. - Set the two lines below to the network name and password, preserving any other settings in the file.
- Save, eject the card, return it to WaveTracer and switch on. Connection is attempted during startup.
WIFIName=YourNetworkName
WIFIPassword=YourNetworkPassword
Use a phone hotspot
- Enable the phone’s Wi-Fi hotspot or Personal Hotspot. Use a 2.4 GHz hotspot or enable its compatibility option if needed.
- Enter its name and password in
wifisettings.txtin place of the previous network details. - Keep the hotspot enabled, return the card and restart WaveTracer. Keep the phone nearby.
- For firmware downloads and internet time, the phone must also have working internet access. Downloads can use mobile data.
Check Network Status
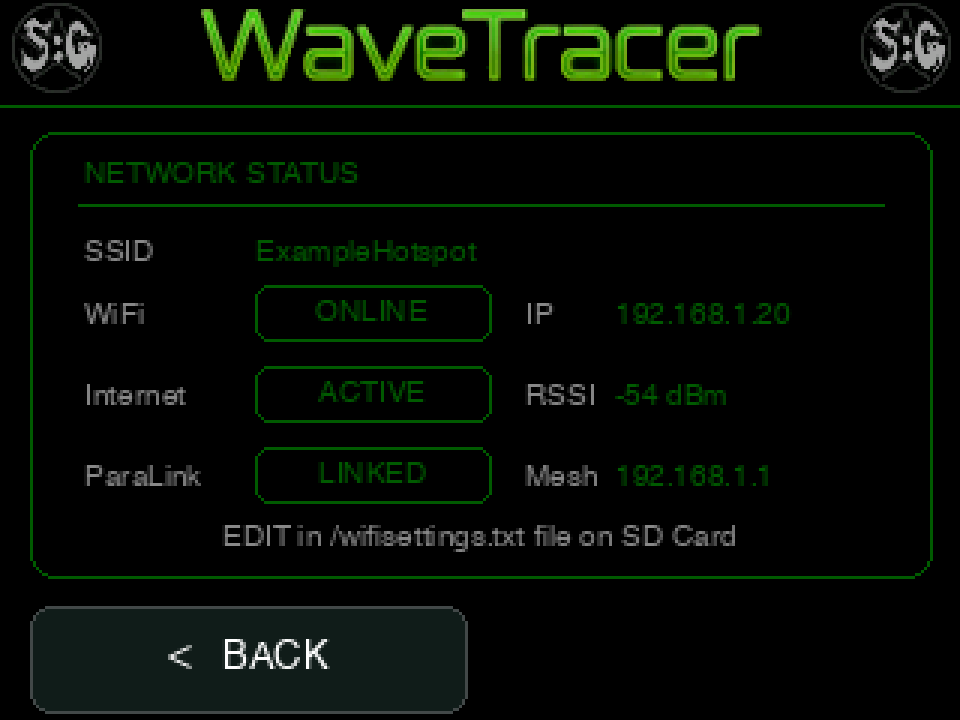
Open Wi-Fi from the bottom-left menu icon. The screen shows the network name (SSID), WiFi ONLINE / OFFLINE, Internet ACTIVE / NO NET, and ParaLink LINKED / NO LINK. IP is the device’s network address; RSSI is its Wi-Fi signal reading; Mesh is the connected ParaLink server address. The Internet indicator reflects a periodic secure connection check. Its result can take about 30 seconds to refresh; Wi-Fi alone does not guarantee internet access. Tap BACK to return.
Read the aerial icon
On radar, the aerial at the upper right gives a compact connection indication; the battery and percentage are at the upper left. Use the Wi-Fi status screen when you need more detail.

No verified internet connection
Red aerial: no verified internet connection. Radar remains available offline.

Verified internet connection
Green aerial: the latest network check confirmed internet access. This does not by itself mean ParaLink-Mesh is linked.

ParaLink-Mesh linked
Blue top ring: ParaLink-Mesh is connected. The stem and base normally remain green.
Connect to ParaLink-Mesh

Find out more about ParaLink-Mesh, including setup and supported features.
Start compatible ParaLink-Mesh on a device reachable over the same local network or hotspot. WaveTracer attempts discovery and connection automatically. Check ParaLink LINKED on the Wi-Fi screen or the blue aerial ring on radar. Use the app page for supported live viewing and remote touch controls; the physical touchscreen remains available on WaveTracer.
Files and About
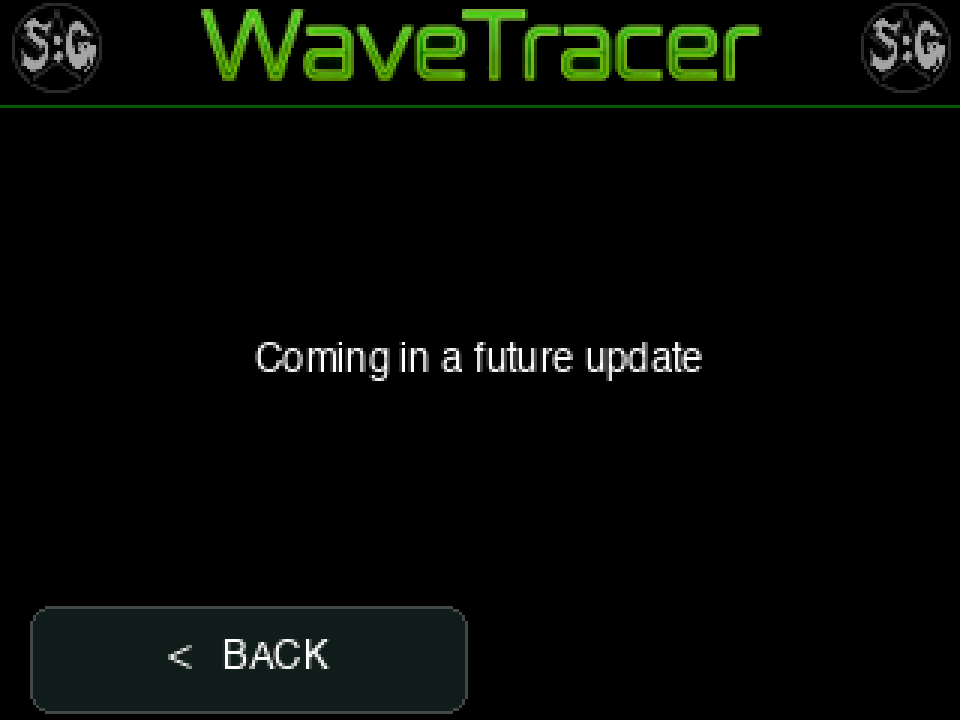
The Files icon currently opens a screen saying Coming in a future update. This firmware has no user-accessible file browser or active radar recording control. Tap BACK to return.
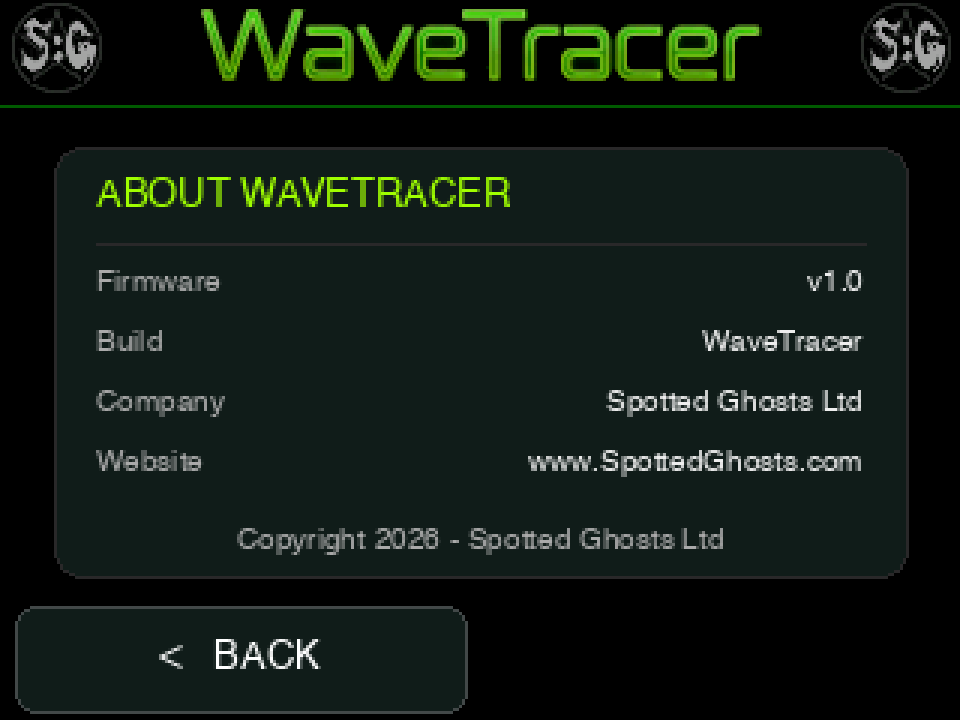
Open About for the installed firmware version, build name and supplier details. Note the firmware version if requesting support. Tap BACK to return.
Update firmware
Connect to a network with internet access. Charge to at least 50%, or connect USB and confirm that charging is reported. Keep stable power connected throughout the update.
- Open Update from the menu’s bottom row.
- Wait for the firmware check. If clock synchronisation is needed, allow up to about 45 seconds.
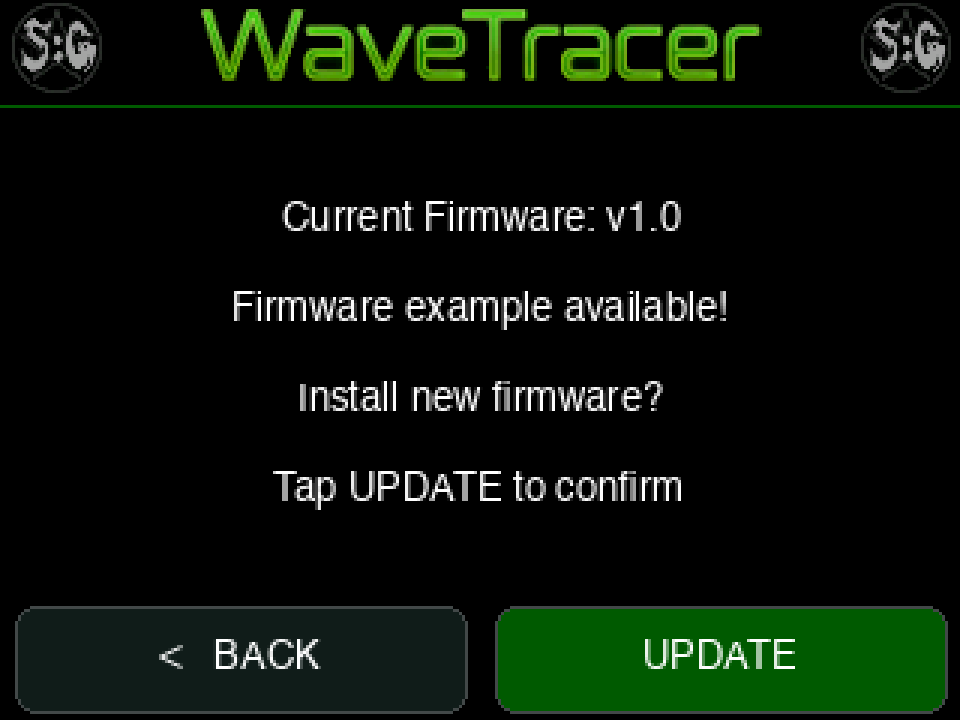
- If a version is available, the screen shows Install new firmware? and Tap UPDATE to confirm. Release the entry touch, then tap UPDATE at the lower right.
- To cancel or leave without installing, tap BACK. If already up to date, BACK returns to the menu.
- Wait while the download percentage progresses. Do not press RST, switch off or unplug power.
- After a successful installation, WaveTracer restarts automatically. If a download fails, an UPDATE retry can be offered; otherwise tap BACK, correct the cause and reopen Update.
Troubleshooting
| What happens | What to do |
|---|---|
| Touchscreen stops responding | Briefly press the bottom RST button once to restart. Avoid doing this during firmware installation. |
| Green light after holding RST; app does not start | Release RST and briefly press it once. A long RST hold enters hardware download mode. |
| No radar blips | Keep the device steady and observe the area in front of it. Returns depend on what the sensor reports. Check single/multi mode and Motion Filter; close targets can be suppressed while the device moves. |
| Heading or grid looks offset | Tap the on-screen R to make the current heading zero. This does not restart the hardware. |
| Radar initialization failed | Leave radar with BACK and reopen it. If it persists, restart normally and contact the supplier with the displayed message and firmware version. |
| Mode change failed; restored | The previous tracking mode was restored. You can continue using it or retry once the device is steady. |
| No audio | Open Settings, turn Play Audio on and tap SAVE. Return to radar. |
| Settings changed after restart | Use SAVE on Settings to write changes to the card; BACK does not persist them. |
| Incorrect clock after connecting | Check Date and Time. Startup internet synchronisation can replace manually set values. |
| Wi-Fi OFFLINE or ParaLink NO LINK | Check the Wi-Fi file, network/hotspot and compatible ParaLink-Mesh app, then restart. |
| Files not available | The Files screen is a placeholder in this firmware. Recording and browsing are not available from the user interface. |
| Update blocked | Charge to at least 50% or connect USB and confirm charging, then reopen Update. |
| Clock sync or firmware check failed | Check internet access or try another configured hotspot. Tap BACK and reopen Update. Record persistent error messages for support. |

Spirit Talker Lite
Here’s the full Spirit Talker Lite code with **“Setting up the tripod and attachments”** added ... Read more